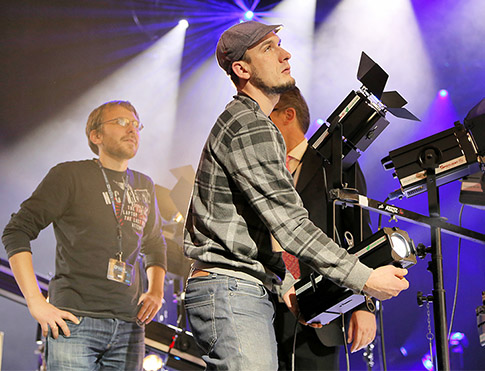
LEDucation
Concerning pre and post sales services, technical training has always been a distinctive characteristic of Spotlight, especially for high technological content products.
In Spotlight Academy project, Spotlight has invested decades of experience in operators and lighting technicians training for theaters, opera houses, art academies, service and rental, technical institutes and universities, developing content and courses recognized with Quality Certification.
Lighting technology class
The lighting engineering class is aimed at training professionals in lighting engineering for the show such as lighting designers, lighting architect, light programmers, media server operators, … The class aims to deepen, both from a theoretical and practical point of view, everything is useful for a correct lighting design.
The class provides an overview of the main aspects of lighting technology, in order to give technicians and designers knowledge and skills for a conscious and effective use of light in their projects.
The courses are dispensed in the new Spotlight Course Room, a space equipped with the most modern infrastructures to allow students to experience the best technologies offered on the market today.
The course can also be dispensed in collaboration with educational institutions and supplementing University Masters Study Plan.
At the end of the class a final exam will be performed to consolidate the skills acquired and a certificate of participation will be issued.
How to choose your Spotlight?

The Fresnel fixtures produce a cone of light that gives an even field of light with soft edges.
These fixtures allow accent lighting of almost any object without producing sharp contrasts between the surface being lit and the surrounding area.

The PC fixtures produce a light beam that gives more defined edges and a greater concentration of light.
These fixtures are employed to achieve focused and even accent lighting compared to the Fresnel version.
The PC spot is normally recommended for use in applications where the area around the object being lit needs to remain completely dark and contrast between light and shade needs to be more defined.
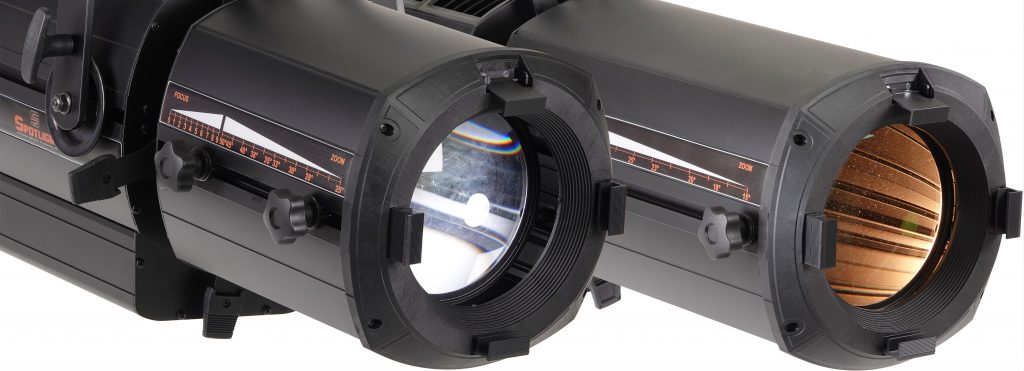

The Profile projectors, primarily utilized for accent and precision lighting, are chosen for shaping geometric forms and figures such as paintings or architectural elements.
Additionally, they serve the purpose of projecting logos and images, often referred to as gobos.
How to...
HOW TO SET DMX ADDRESS AND TO CHOOSE DMX PERSONALITY (DMX CHART)
In order to control one or more fixtures via console, it is necessary to assign each one a DMX address and choose a DMX chart based on the parameters of the luminaire you want to control and the channels available on the console. At the first fixture, channel 1 is allocated and occupies as many channels as indicated in the chosen DMX chart.
DMX SETTINGS => DMX ADDRESS = 001
DMX SETTINGS => DMX PERSONALITY = 3ch
If the second spotlight is given the same channel and the same personality, it will behave like the first spotlight; otherwise it is necessary to give it the first free channel as an address and choose how to work it.
DMX SETTINGS => DMX ADDRESS = 004
DMX SETTINGS => DMX PERSONALITY = xxx
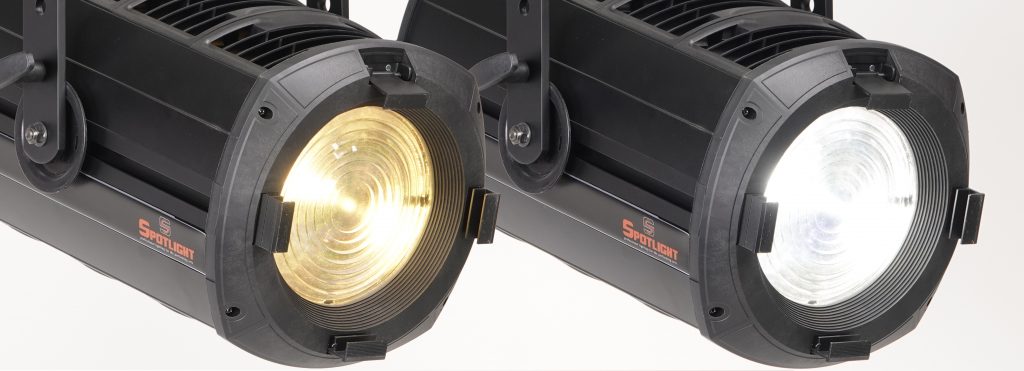
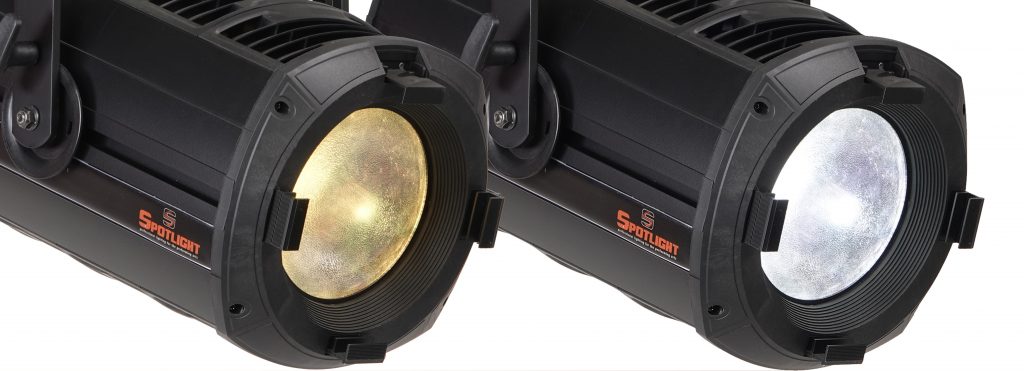
HOW TO EMULATE THE PERFORMANCE OF HALOGEN LAMP
To satisfy the most “nostalgic” light designers of halogen light and to approach the natural perception that the human eye has of an LED illuminated object, it is not enough that static light simulates halogen light, but that it is also in its dynamic regulation.
For an LED luminaire to behave like a halogen lamp 3 are the points to consider:
- the dimmer curve must be set as HALO
OPTIONS -> DIMMING CURVE = HALO
- the delay should be adjusted to 1000 ms
OPTIONS -> LED DELAY = 1000 ms
- the amber shift function must be activated (typical change to which a halogen lamp tends when dimmed decreasing the emission)
OPTIONS -> AMBER SHIFT = ON
(Mandatory: DMX PERSONALITY / CCT PRESET = 3200K)
HOW TO REMOVE FLICKERING EFFECT IN CAMERAS
The flickering effect is manifested in the shooting when the emission frequency of the LED conflicts with the camera brush scan and can be solved by acting on the camera parameters or on the fixture parameters.
OPTIONS -> OUTPUT FREQUENCY = xxx (find by trial and error – fine adjustment – the value that removes the flicker in the camera)
HOW TO SET THE FAN MODE
In order to function properly, the LED requires a cooling system, which can be passive (dissipation of heat by natural convection) or active (forced dissipation of heat using a fan).
FAN MODE:
- AUTO: the fans are automatically adjusted based on the LED temperature.(where variable fan noise is not a critical parameter)
- STANDARD: the fans are always kept at the default value (where a constant background noise is required without varying brightness)
- SILENT: the fans are always kept at the minimum value and in case of critical temperatures of the LED it automatically reduces the brightness
The silent mode function allows to intervene on the speed and therefore on the noise of the fans based on the internal temperatures of work detected by a thermostat.
OPTIONS -> FAN MODE = SILENT
HOW TO SET THE STAND ALONE AND MASTER-SLAVE
May happen the nedd to control one or more fixtures without using a console.
The fixture allows operator to create one or more scenes, both in stan alone and master-slave.
Il software permette di creare una o più tinte statiche e di definire la durata e la sequenza di ciascuna.
STANDALONE => STANDALONE = MANUAL (to create a single static tint)
STANDALONE => STANDALONE = AUTO SCENE (to create multiple static tints with customizable duration and sequence)
The function can be set on a single fixture or on a group of fixtures.
In this second case it is necessary to define the “master” fixture (MASTER, MANUAL or AUTO SCENE) and the “slave” ones (SLAVE).
To disable these control modes in the absence of a console, simply reconnect the DMX cable and each fixture will be directly controllable from remote.
HOW TO INCREASE THE LIGHT OUTPUT +20%
All the fixtures are designed to work in a context of balance between luminous efficiency and optimal thermal regime so as not to cause the LED to work under stress. Where available, thanks to the LED BOOST function, the algorithm favors luminous efficiency (+20% in light output) to the detriment of thermal efficiency, giving more current to the LED, but it is exclusively compatible with FAN MODE = AUTO (= the fans are automatically adjusted based on the LED temperature). That means that, even with this function active, the LED TEMPERATURE function regulates the light intensity in case of overtemperature to avoid an early deterioration of the source.
It may happen that you need a light emission of the individual channels higher than the factory settings, without however exceeding the maximum power of the spotlight. When a tint or a CCT value is selected in which not all channels are at full, an algorithm increases the light output to achieve maximum efficiency. A microprocessor monitors the working temperature of the LED and updates the source control parameters in real time.
OPTIONS -> FAN MODE = AUTO
OPTIONS -> LED BOOST = ON
HOW TO SET THE LED CALIBRATION
When a group of fixtures is used, it may happen that one or more of them, with the same DMX values, have a color component (e.g.: red) to be “corrected” to make the tint uniform to that of the other fixtures. This function allows you to modify the spectrometric curve of a fixture, intervening on the contribution of the single color of the array.
LED CALIBRATION -> RED CALIBRATION and adjust the DMX value until the color aligns with that of the other lights in the group.
HOW TO SET THE COLOUR CUSTOM PRESETS
In each color Hyperion series fixture there are two libraries:
- the first factory (STANDARD PRESETS) and
- the second customizable by the operator (CUSTOM PRESETS) which includes a storage phase and a playback. Both of these presets can be recalled by selecting the relevant DMX value or by turning the potentiometer
There are two ways to customize the CUSTOM PRESET:
with fixture display:
- SETTINGS –> STAND ALONE –> CUSTOM PRESETS –> CUSTOM PRESET 1
- set the desired color by changing the values of the individual colors by turning the dimmer
- click on the CONFIRM button for the final save
- wait 5 seconds and the 5 flashes confirming that saving has taken place
with DMX consolle:
- modify the DMX value of the SERVICE 1 channel until reaching the range of the parameter to be modified (e.g. CUSTOM PRESET 1) and leave the channel on this value
- set the desired tint by acting on the individual color channels
- save the tint by setting the DMX value of the STROBE & STORE channel in the range corresponding to STORE 1
- wait 5 seconds and the 5 flashes confirming that saving has taken place
